How to Repair Your Retractable Hose Reel
Good-quality hose reels can last for many years if regular cleaning and maintenance are done. You can deal with minor problems like loose connectors and bolts before something significant breaks. Extreme damage will force you to get an entirely new reel or replace the faulty parts. Get an excellent retractable hose or reel and more at giraffetools.com. We discuss the ways of repairing a retractable garden hose reel down below.
How to Repair a Retractable Hose Reel
Before any repair is done, you have to identify the problem, know what is required to fix it in terms of tools, capital, etc., then follow the steps needed to correct it.
Step 1: Fix the Cabinet
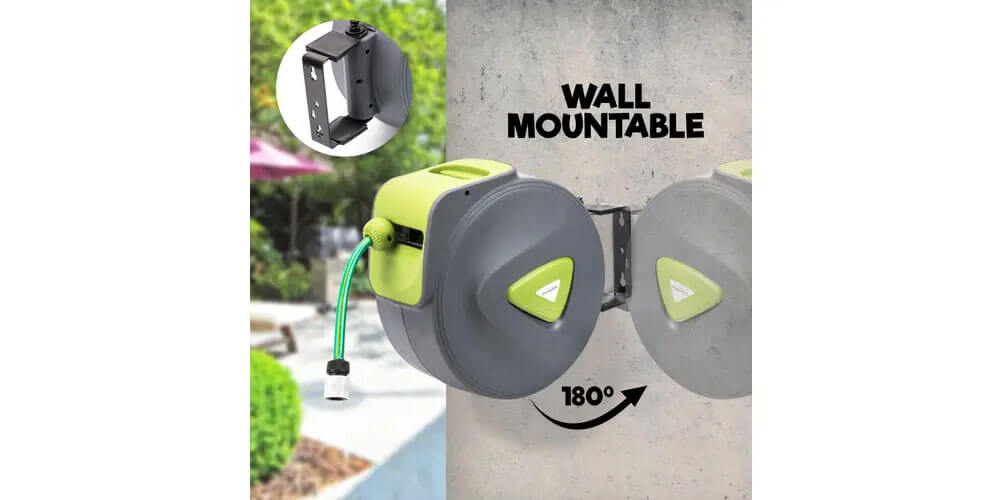
Focusing on this step is crucial. Preventing huge problems before they happen is better than fixing them when the damage is already done. Sift through the cabinet without leaving any part out. Check the screws. Tighten all loose ones and replace any that might be missing. Over time, the mounting brackets become loose due to repetitive movement, and the screw holes are stripped. You may need to relocate the hose reel to align the holes slightly. Tighten the mounting brackets till they are firm and secure. You may repair part of the case now, but eventually, you will have to replace the whole cabinet due to wear and tear.
Step 2: Check All Fittings and Washers
Improper joint seals cause most problems that arise from garden hose reels. A hose has two ends, male and female, each with unique characteristics. The female end usually has a flat washer that is small in size and often tends to get lost. They get compressed with time and need to be replaced. Fittings are known for warping or cracking. New garden hose fittings can be bought from local hardware shops and are easy to install using a screwdriver.
Step 3: Fixing and Replacing
Some common problems are related to the hose. They get pinched, pocked by sharped objects, or crack as a result of direct sunlight. All this may cause leakages. You can cut out the damaged section and add a connector of similar size to join the two sides.
Tighten with a screwdriver and check if the leak has ceased. If the leak is from the leader hose’s entry point, take off the side cover on the leader hoses side or put the hose on maximum pressure, then tighten the hose clamp with a screwdriver till it stops leaking.
Step 4: Do Proper Maintenance
Always inspect the hose reel before and after use. Check for minor problems and fix them, such as loose screws, poor connectors, and slipping mounting screws.
Final Word
Maintaining your hose reel properly will benefit you in the end. Also, regular inspection of every part saves you money since problems are fixed before becoming major. Repairing your reel is vital if the extent of damage isn’t enormous. It also allows you to continue using the equipment until when a new one would be necessary.